Overview
eMabler acts as the backend system, receiving and handling Terminal objects, managing charger mappings, and processing OCPI commands, sessions, and CDRs in compliance with the EVRoaming Direct Payment framework.
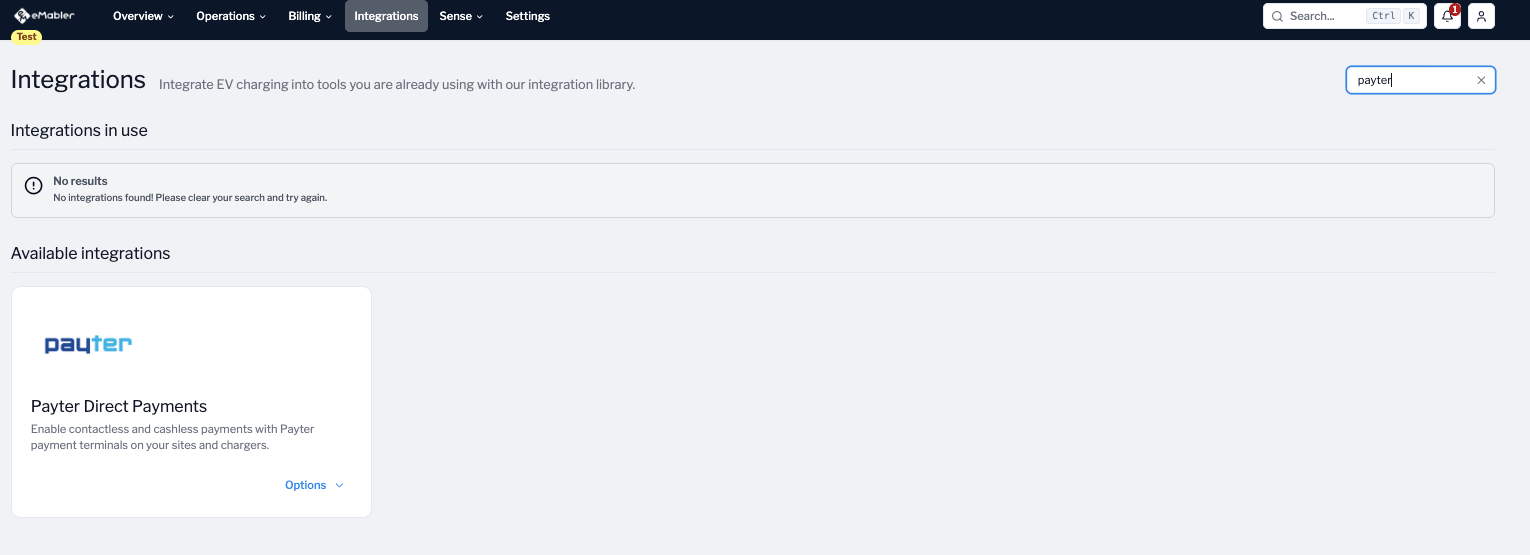
Establish the PTP Connection
-
Navigate to Connect → Integrations → Payter Direct Payments.
-
Select Add Connection.
-
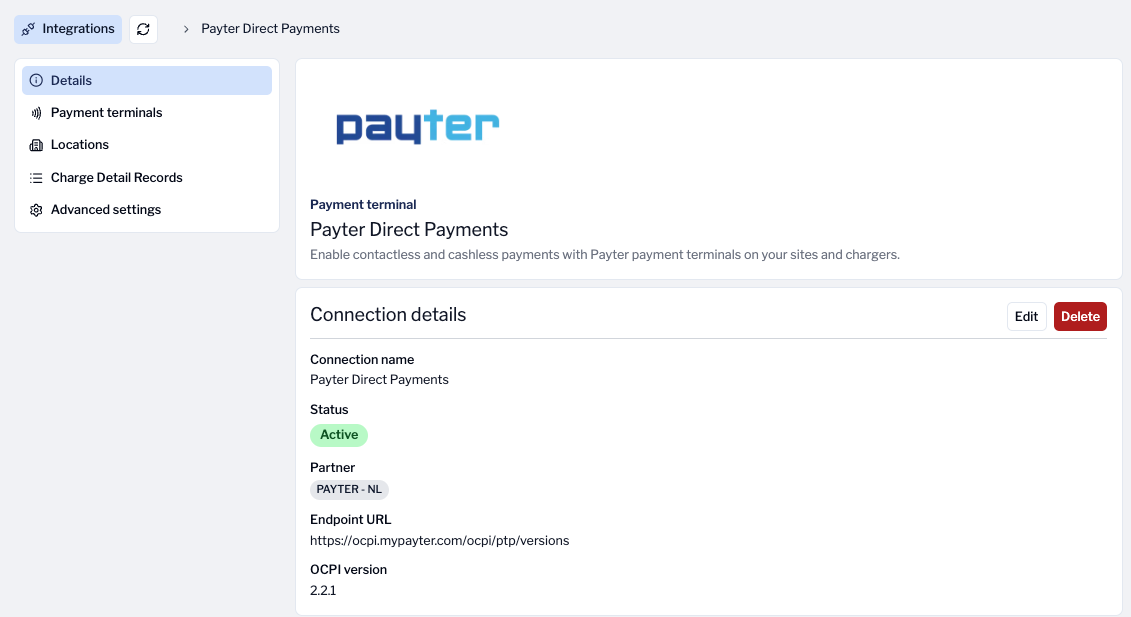
Choose Credentials exchange role = Sender, then paste Token A provided by Payter.
-
Click Save to initiate the OCPI credentials exchange.
Behind the scenes: This performs the standard OCPI versions and credentials handshake, establishing the trusted connection between Payter (PTP) and eMabler (CPO backend)
Terminal Object Push (PTP → eMabler)
Once the connection is active, Payter (PTP) will push Terminal objects into eMabler via the OCPI Direct Payment interface.
Once received, the terminal appears in Connect → Integrations → Payter Direct Payments → Payment Terminals.
Each record lists the External Terminal ID and Customer Reference.
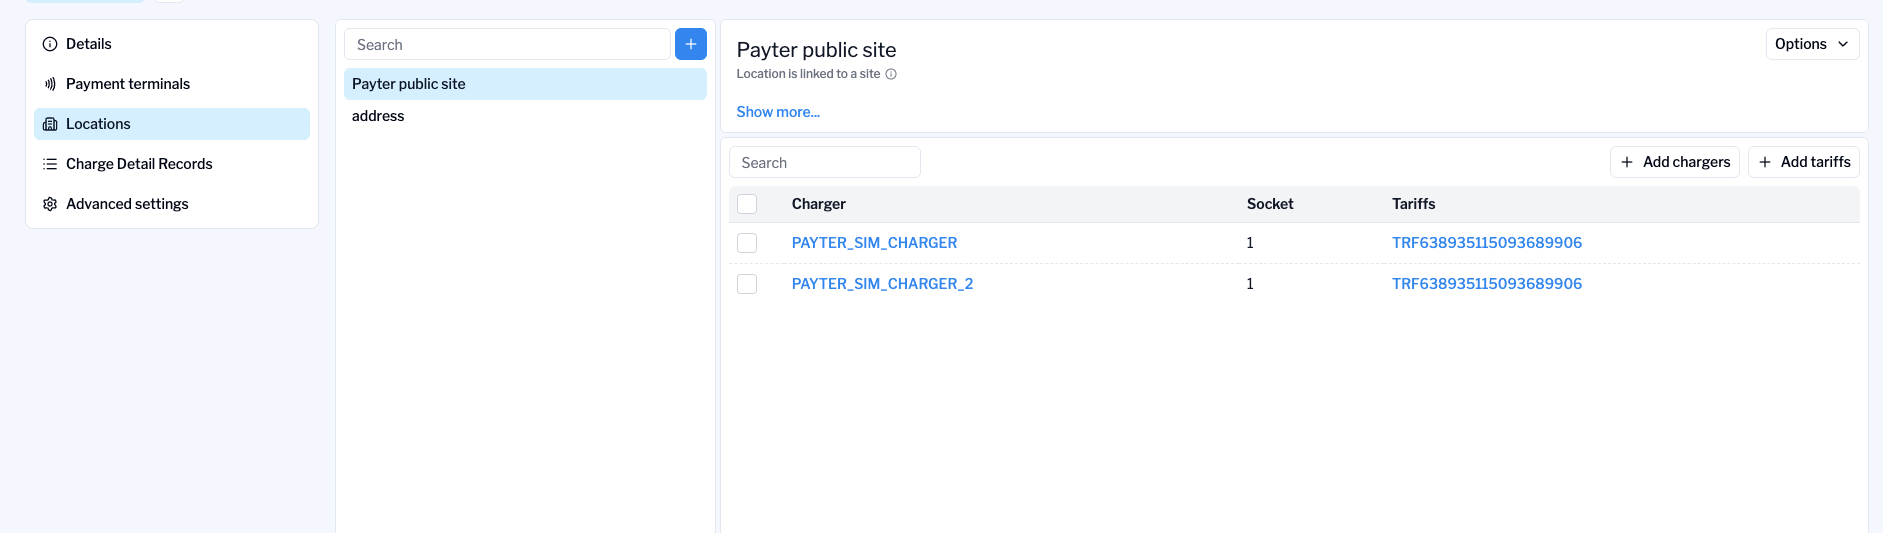
Link Terminals to Sites and Chargers
After the terminal has been registered, it must be linked to a site or charger.
-
Go to Integrations → Payter Direct Payments → Locations.
-
Use Add Location to register a Payter site, or Link Site to connect to an existing eMabler site.
-
Assign terminals to that location.
Mapping modes supported:
-
1:1 mapping: One terminal is linked to one charger/EVSE.
-
1:many mapping: One terminal is linked to multiple chargers within a single site.
Set Tariffs
Each linked charger or connector must have an associated tariff.
Tariffs define the displayed price and the maximum pre-authorization amount (max_price) used by the terminal.
-
Within the Location view, click Add tariffs.
-
Select an existing tariff from the list (tariff objects are synced from your tariff catalog).
-
Save to apply the tariff.
The tariff data (including max_price, currency, and alt_text) is fetched by the PTP to display correct prices to drivers before payment authorization.
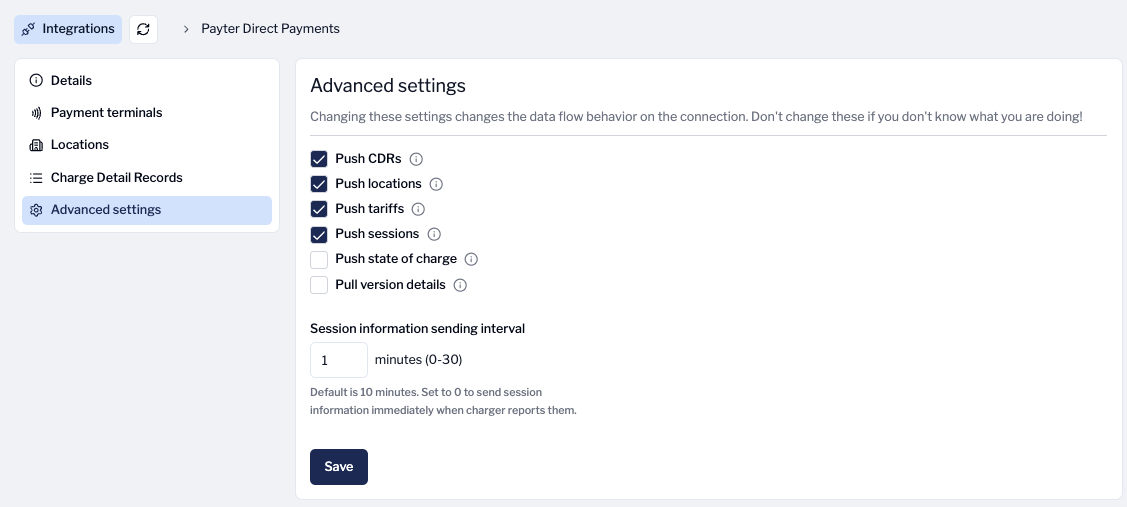
Tariff Descriptions
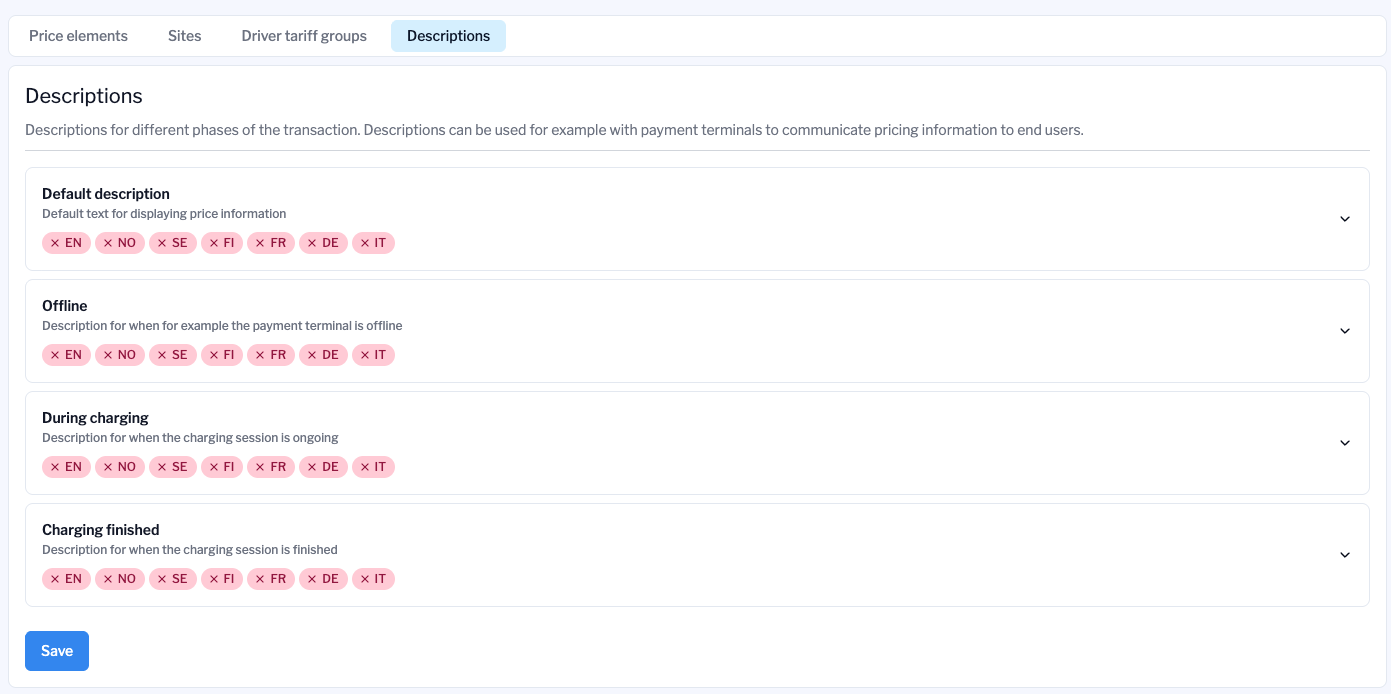
Tariff descriptions define multilingual pricing text displayed on Payter terminals during different transaction phases.
To add description, Navigate to Billing → Tariffs → Descriptions.
You can add or edit descriptions for:
-
Default description – text for displaying price information.
Descriptions can be localized per language (EN, NO, SE, FI, FR, DE, IT) and are transferred to the PTP along with tariff data.
These descriptions are displayed on the terminal’s UI to inform drivers about transaction pricing.
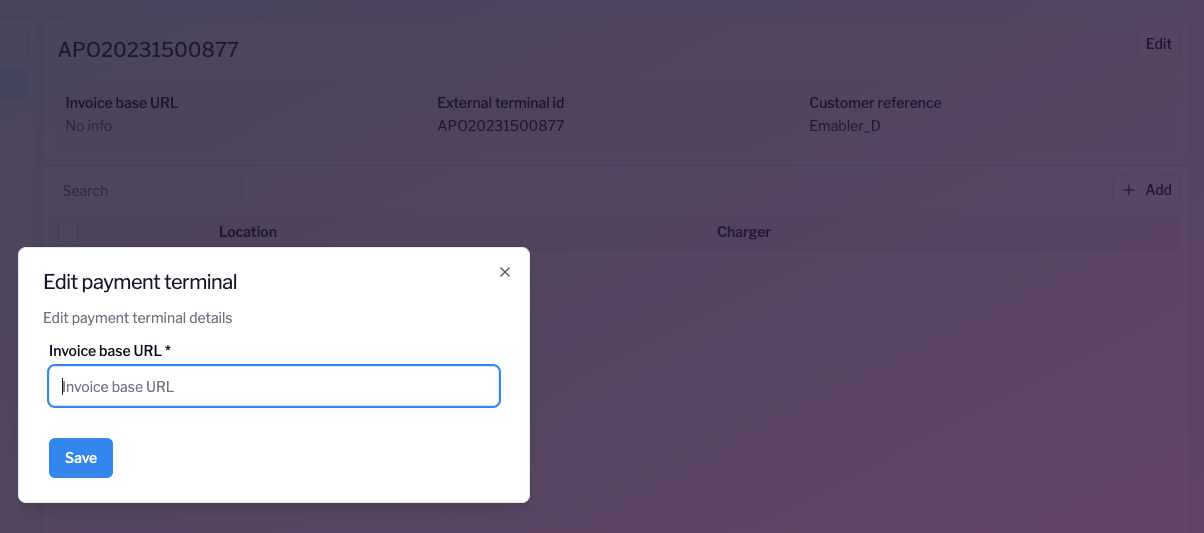
Configure Invoice Reference (Optional)
Consult Customer Success manager to check if the configuration is needed.
For each terminal, define the Invoice Base URL to link invoices or settlement information.
Select the terminal in Payment Terminals.
-
Click Edit.
-
Enter the Invoice Base URL (for example,
https://customer.receipt.com). -
Save.
Once the base URL is added by the customer, Payter will append the authorization_reference to this URL dynamically when sending transaction updates.
Therefore, the customer should support dynamic URL generation by combining the base URL with the authorization reference, e.g.:
https://customer.receipt.com/{authorization_reference}
The authorization reference is provided in the session push message, which becomes available immediately after the session begins.